Guide
LWN Multi-Step Checkout
Block Checkout
Table of contents
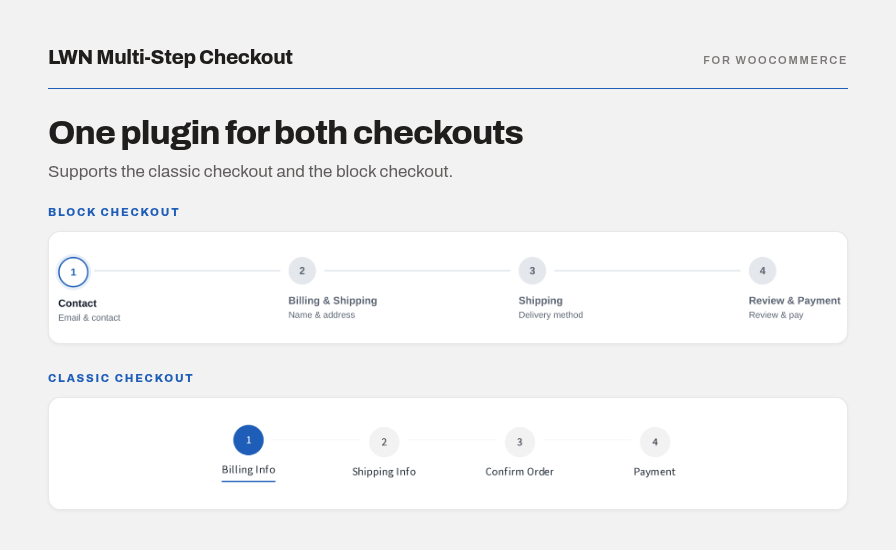
The WooCommerce Checkout Block is the newer, React-based checkout. LWN Multi-Step Checkout splits it into guided steps with a dedicated block — LWN Checkout Steps — that you place inside the checkout form and configure right in the block editor, with a live preview.
Block and classic settings are separate. The settings under WooCommerce → Settings → Multi-Step Checkout (General, Styles, Texts, Advanced) apply to the classic checkout only. Block checkout is configured entirely from the block sidebar.
Are You Using the Block Checkout?
Open Pages → Checkout in the editor and look at what is on the page:
- Block checkout — the page contains a single Checkout block with a two-column layout (form on the left, order summary on the right).
- Classic checkout — the page contains the
[woocommerce_checkout]shortcode, or the Classic Checkout block.
The plugin also tells you directly. Go to WooCommerce → Settings → Multi-Step Checkout → Block Checkout and it states which checkout your store is using at the top of the tab.
Add the Checkout Steps Block
The quickest way is the one-click button in the plugin settings. To see what the result looks like first, open the live block checkout demo.
- Go to WooCommerce → Settings → Multi-Step Checkout → Block Checkout.
- Click Add to checkout. This inserts the block inside your checkout form. Nothing else on the page is changed.
- Open your checkout page to see the steps.
You can also add it by hand: edit the Checkout page, click inside the checkout form column, and insert the LWN Checkout Steps block at the top of the form.
To go back to the standard single-page block checkout, click Remove from checkout on the same tab. Your steps, labels, and colors are kept and come back if you add the block again.
The block must sit inside the checkout form (it is a child of the checkout fields block). It cannot be placed elsewhere on the page — outside the form it never mounts, and the steps will not appear.
Configure It in the Editor
Steps, labels, and colors belong to the block, not to a settings screen, so they are set where you can see them change. Edit the Checkout page, click the steps block at the top of the checkout form, and its settings appear in the block sidebar under the Block tab.
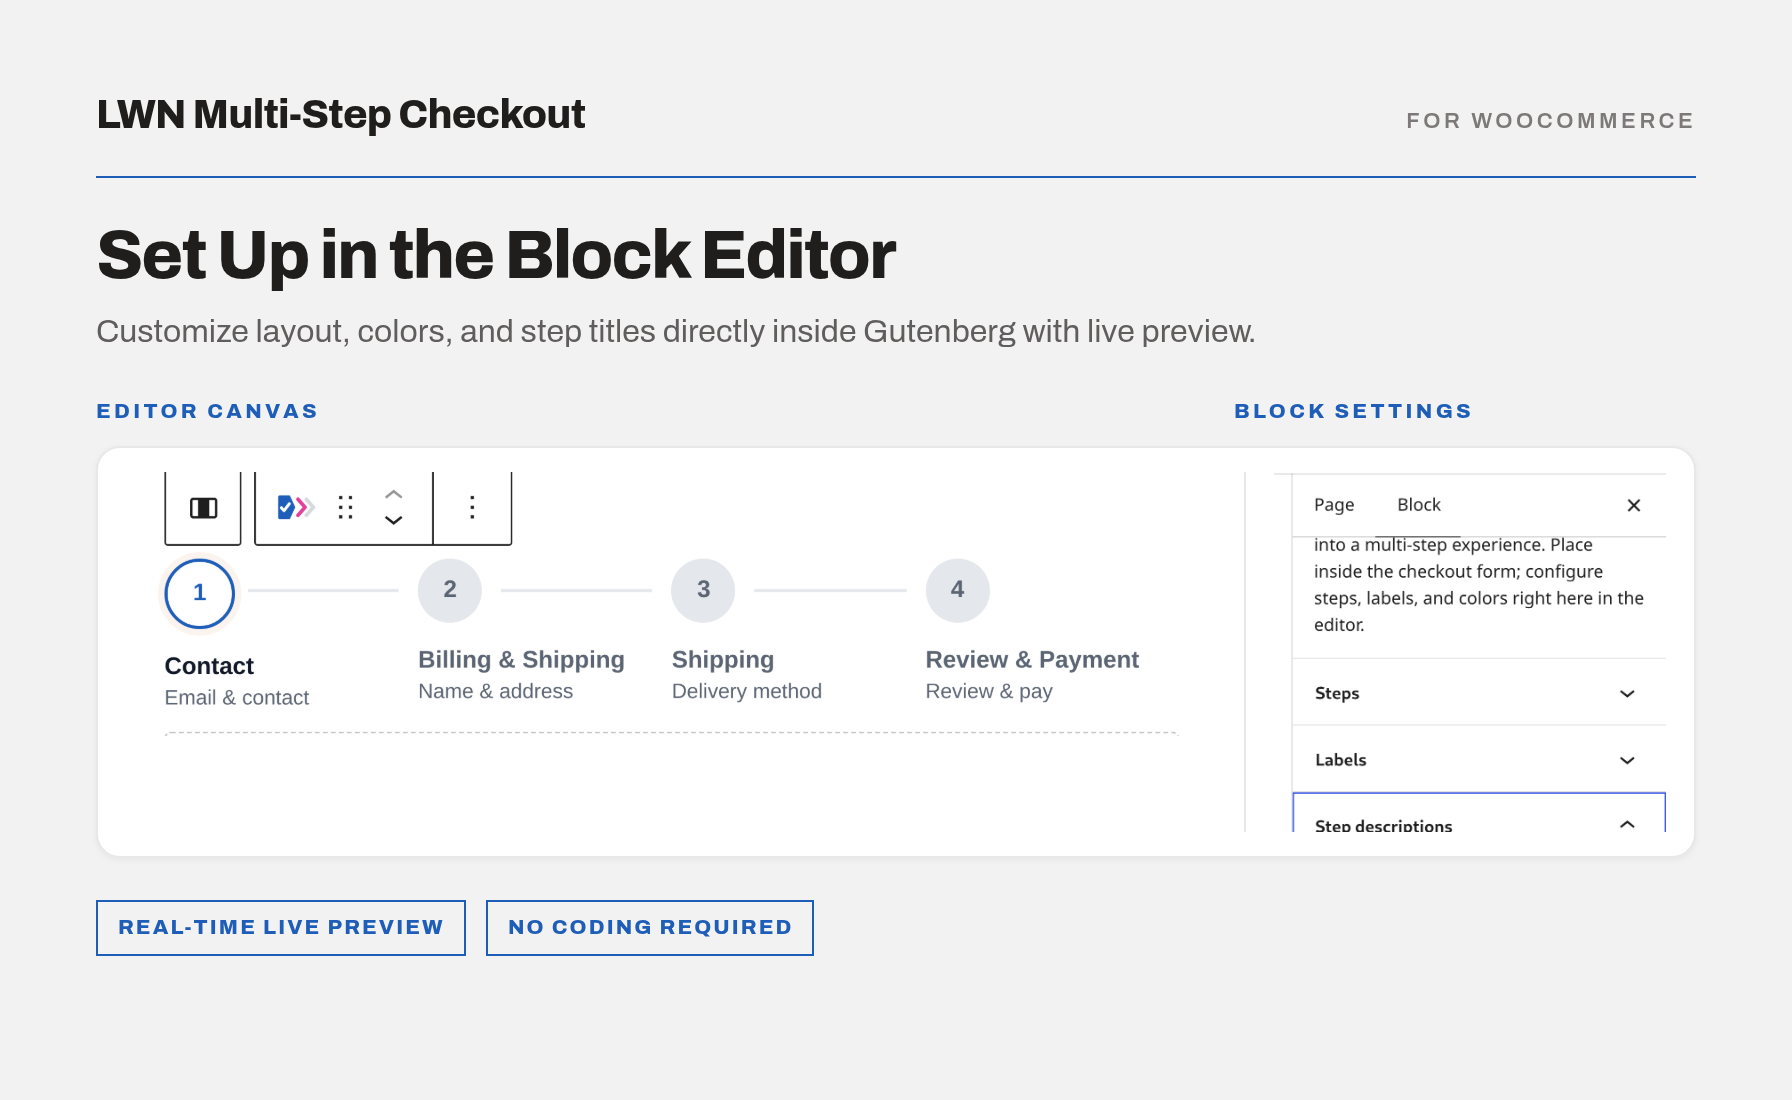
Click any step in the canvas to move the preview, so you can check your labels, colors, and step style against every step. The canvas always shows the whole checkout — on your storefront each step shows only its own sections.
Steps Panel
The Steps panel controls the shape of the flow.
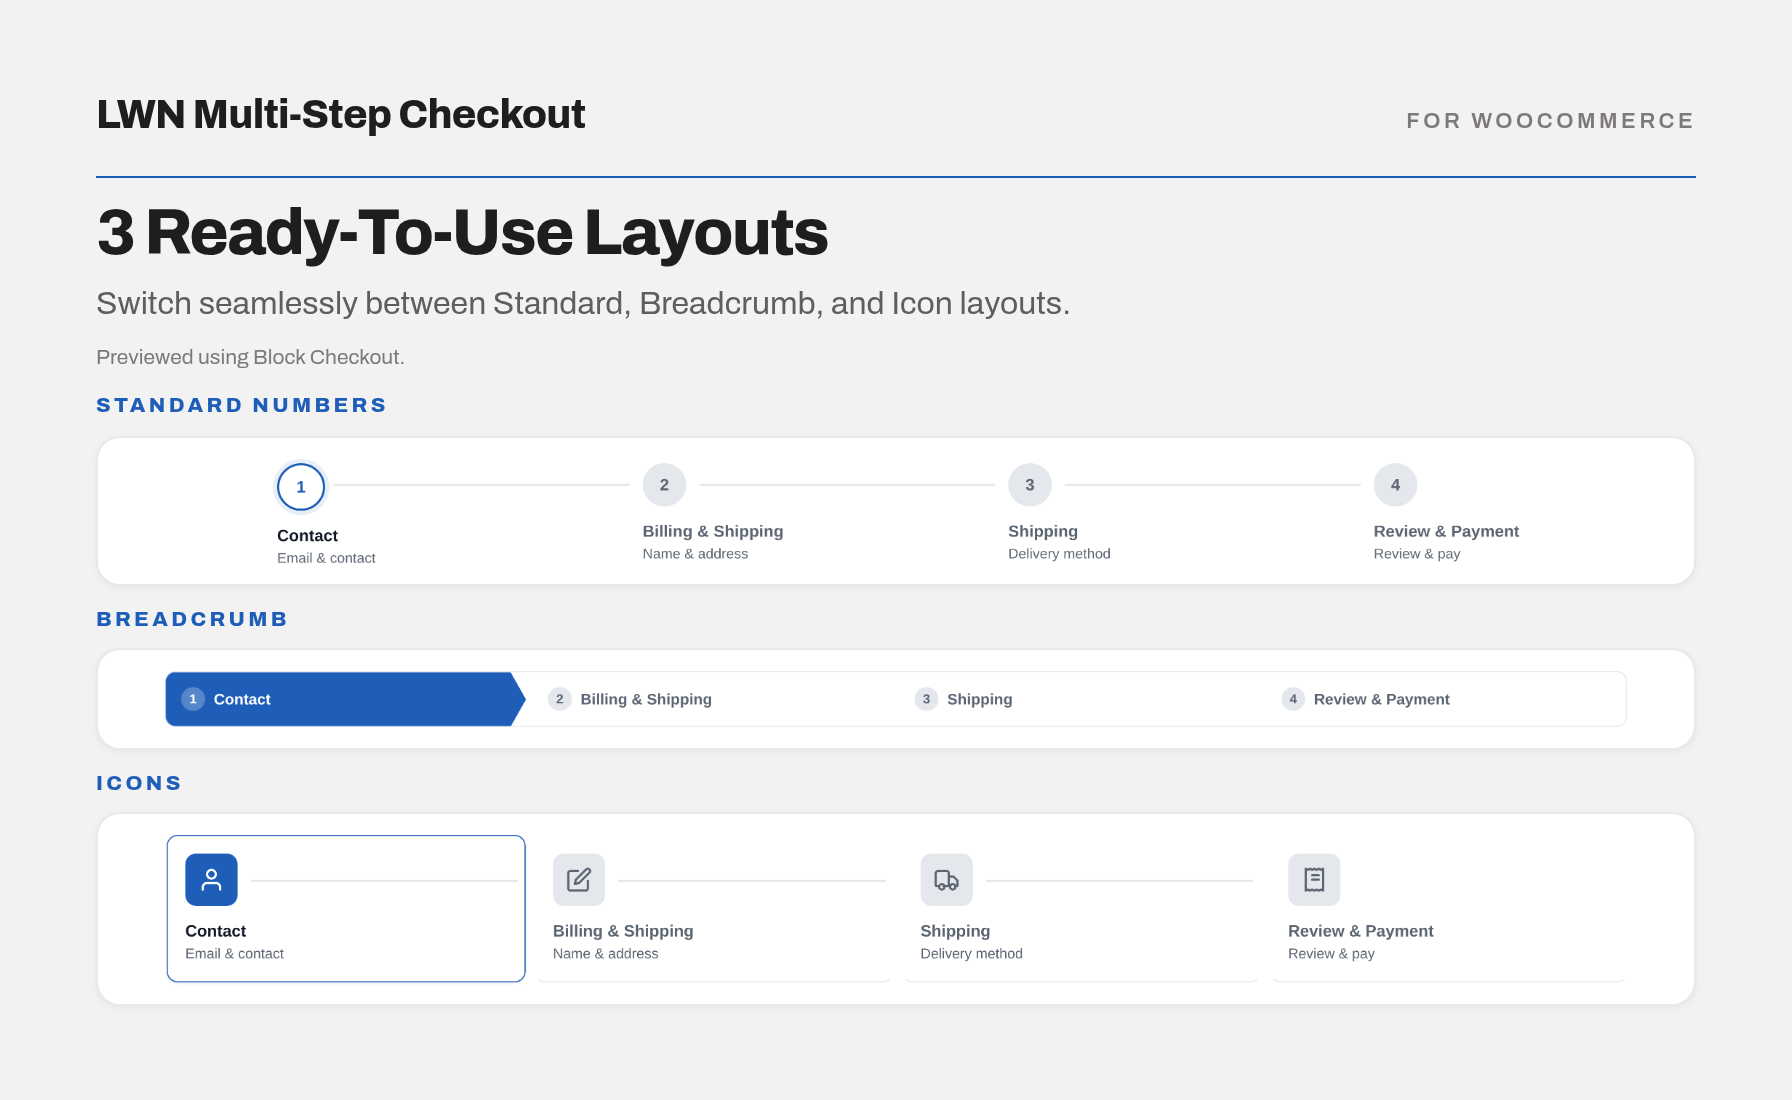
- Step style — Numbered circles (default), Breadcrumb arrows, or Icons.
- Order summary — where the summary appears in the flow:
- Visible on all steps — the summary stays on screen throughout.
- Only on the final step (default) — the last step becomes “Review & Payment”.
- Its own review step — splits review and payment into two separate steps.
- Separate shipping step (on by default) — gives shipping and pickup options their own step instead of grouping them with the address.
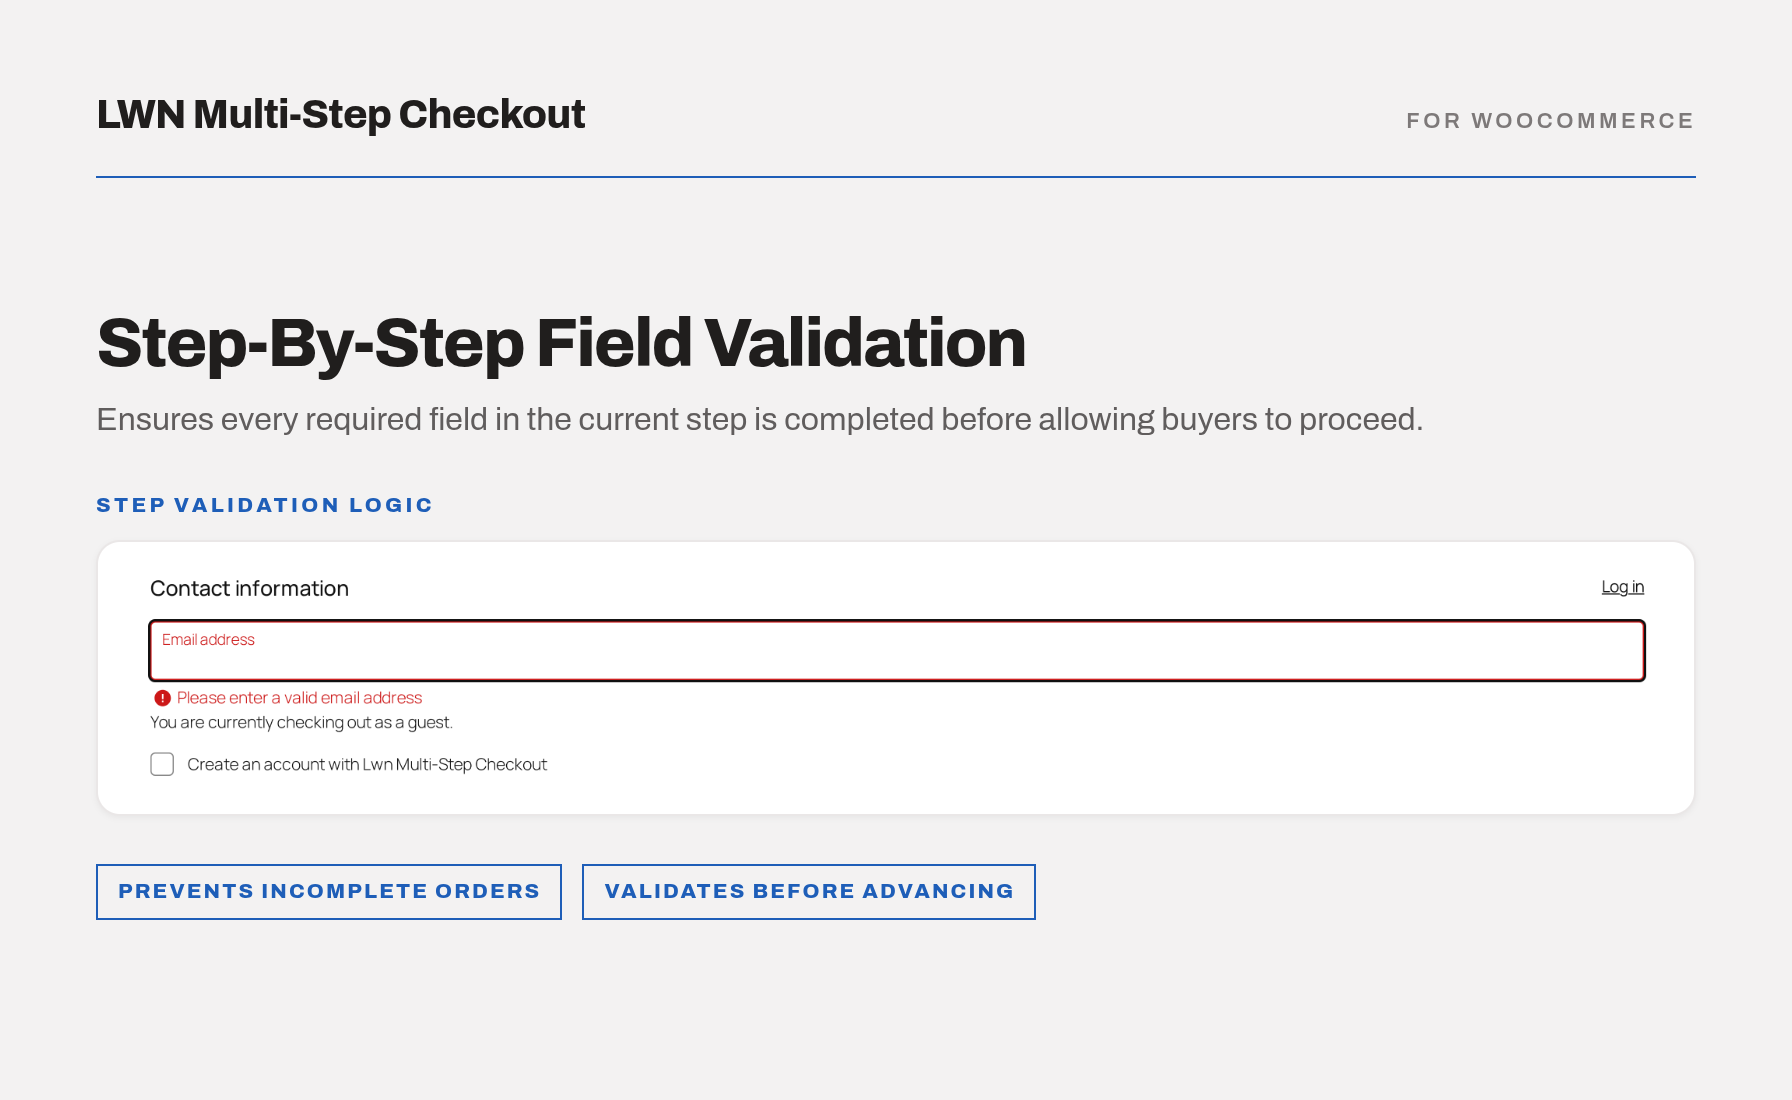
- Validate each step (on by default) — blocks the Next button until the current step is filled in correctly, so errors surface where they happen instead of piling up at the end.
- Force sequential checkout (on by default) — customers move forward one step at a time. Turn it off to let them jump ahead to any step from the header.
What lands on each step
With the defaults, the flow is four steps:
- Contact — express payment buttons and contact information.
- Billing & Shipping — the delivery/pickup toggle, shipping address, and billing address.
- Shipping — shipping options and pickup options.
- Review & Payment — order summary, payment methods, order notes, and terms.
Turning off Separate shipping step folds the shipping options back into the address step. Choosing Its own review step for the order summary splits the last step into Review and Payment. The order of the steps themselves is fixed.
Labels & Step Descriptions
The Labels panel renames each step and the navigation buttons: Contact, Billing & Shipping, Shipping, Review, Payment, the combined Review & Payment step, plus the Next and Back buttons. Leave a field empty to keep the translated default.
The forward button names its destination — “Next: Shipping” rather than just “Next” — because it sits at the end of a long form, often far below the step header.
The Step descriptions panel sets the smaller line under each step name (“Email & contact”, “Name & address”, and so on). Same list of steps, same behavior: empty means default.
Color
The Color panel has a single Accent setting (default #1e5eb8). Everything else follows from it — completed steps, the current step, buttons, tints, and the text color on top of each. Text is darkened automatically where it needs to be to stay readable, so there is no separate contrast setting to manage.
Troubleshooting
- Checkout looks unchanged — the block is not on the page. Use Add to checkout on the Block Checkout tab.
- “Your checkout page does not use the WooCommerce Checkout Block” — your store is on classic checkout. Configure it from the other settings tabs instead.
- No steps block found when removing — your theme renders the checkout from a template rather than the page. Remove the block there, in the Site Editor.
- The shipping step is missing — it only appears when the cart needs shipping. A cart of virtual products has no shipping step.
- Errors pile up at the end — turn on Validate each step.
- Customers cannot go back — turn off Force sequential checkout.
- Refreshing resets the step — on block checkout the current step is remembered per browser tab. Refreshing in the same tab keeps the position; a new tab starts at step one.
Block settings travel with the page, so they are not covered by the JSON export/import in Advanced Settings — that tool is for classic checkout settings. To move block settings between sites, export the page.